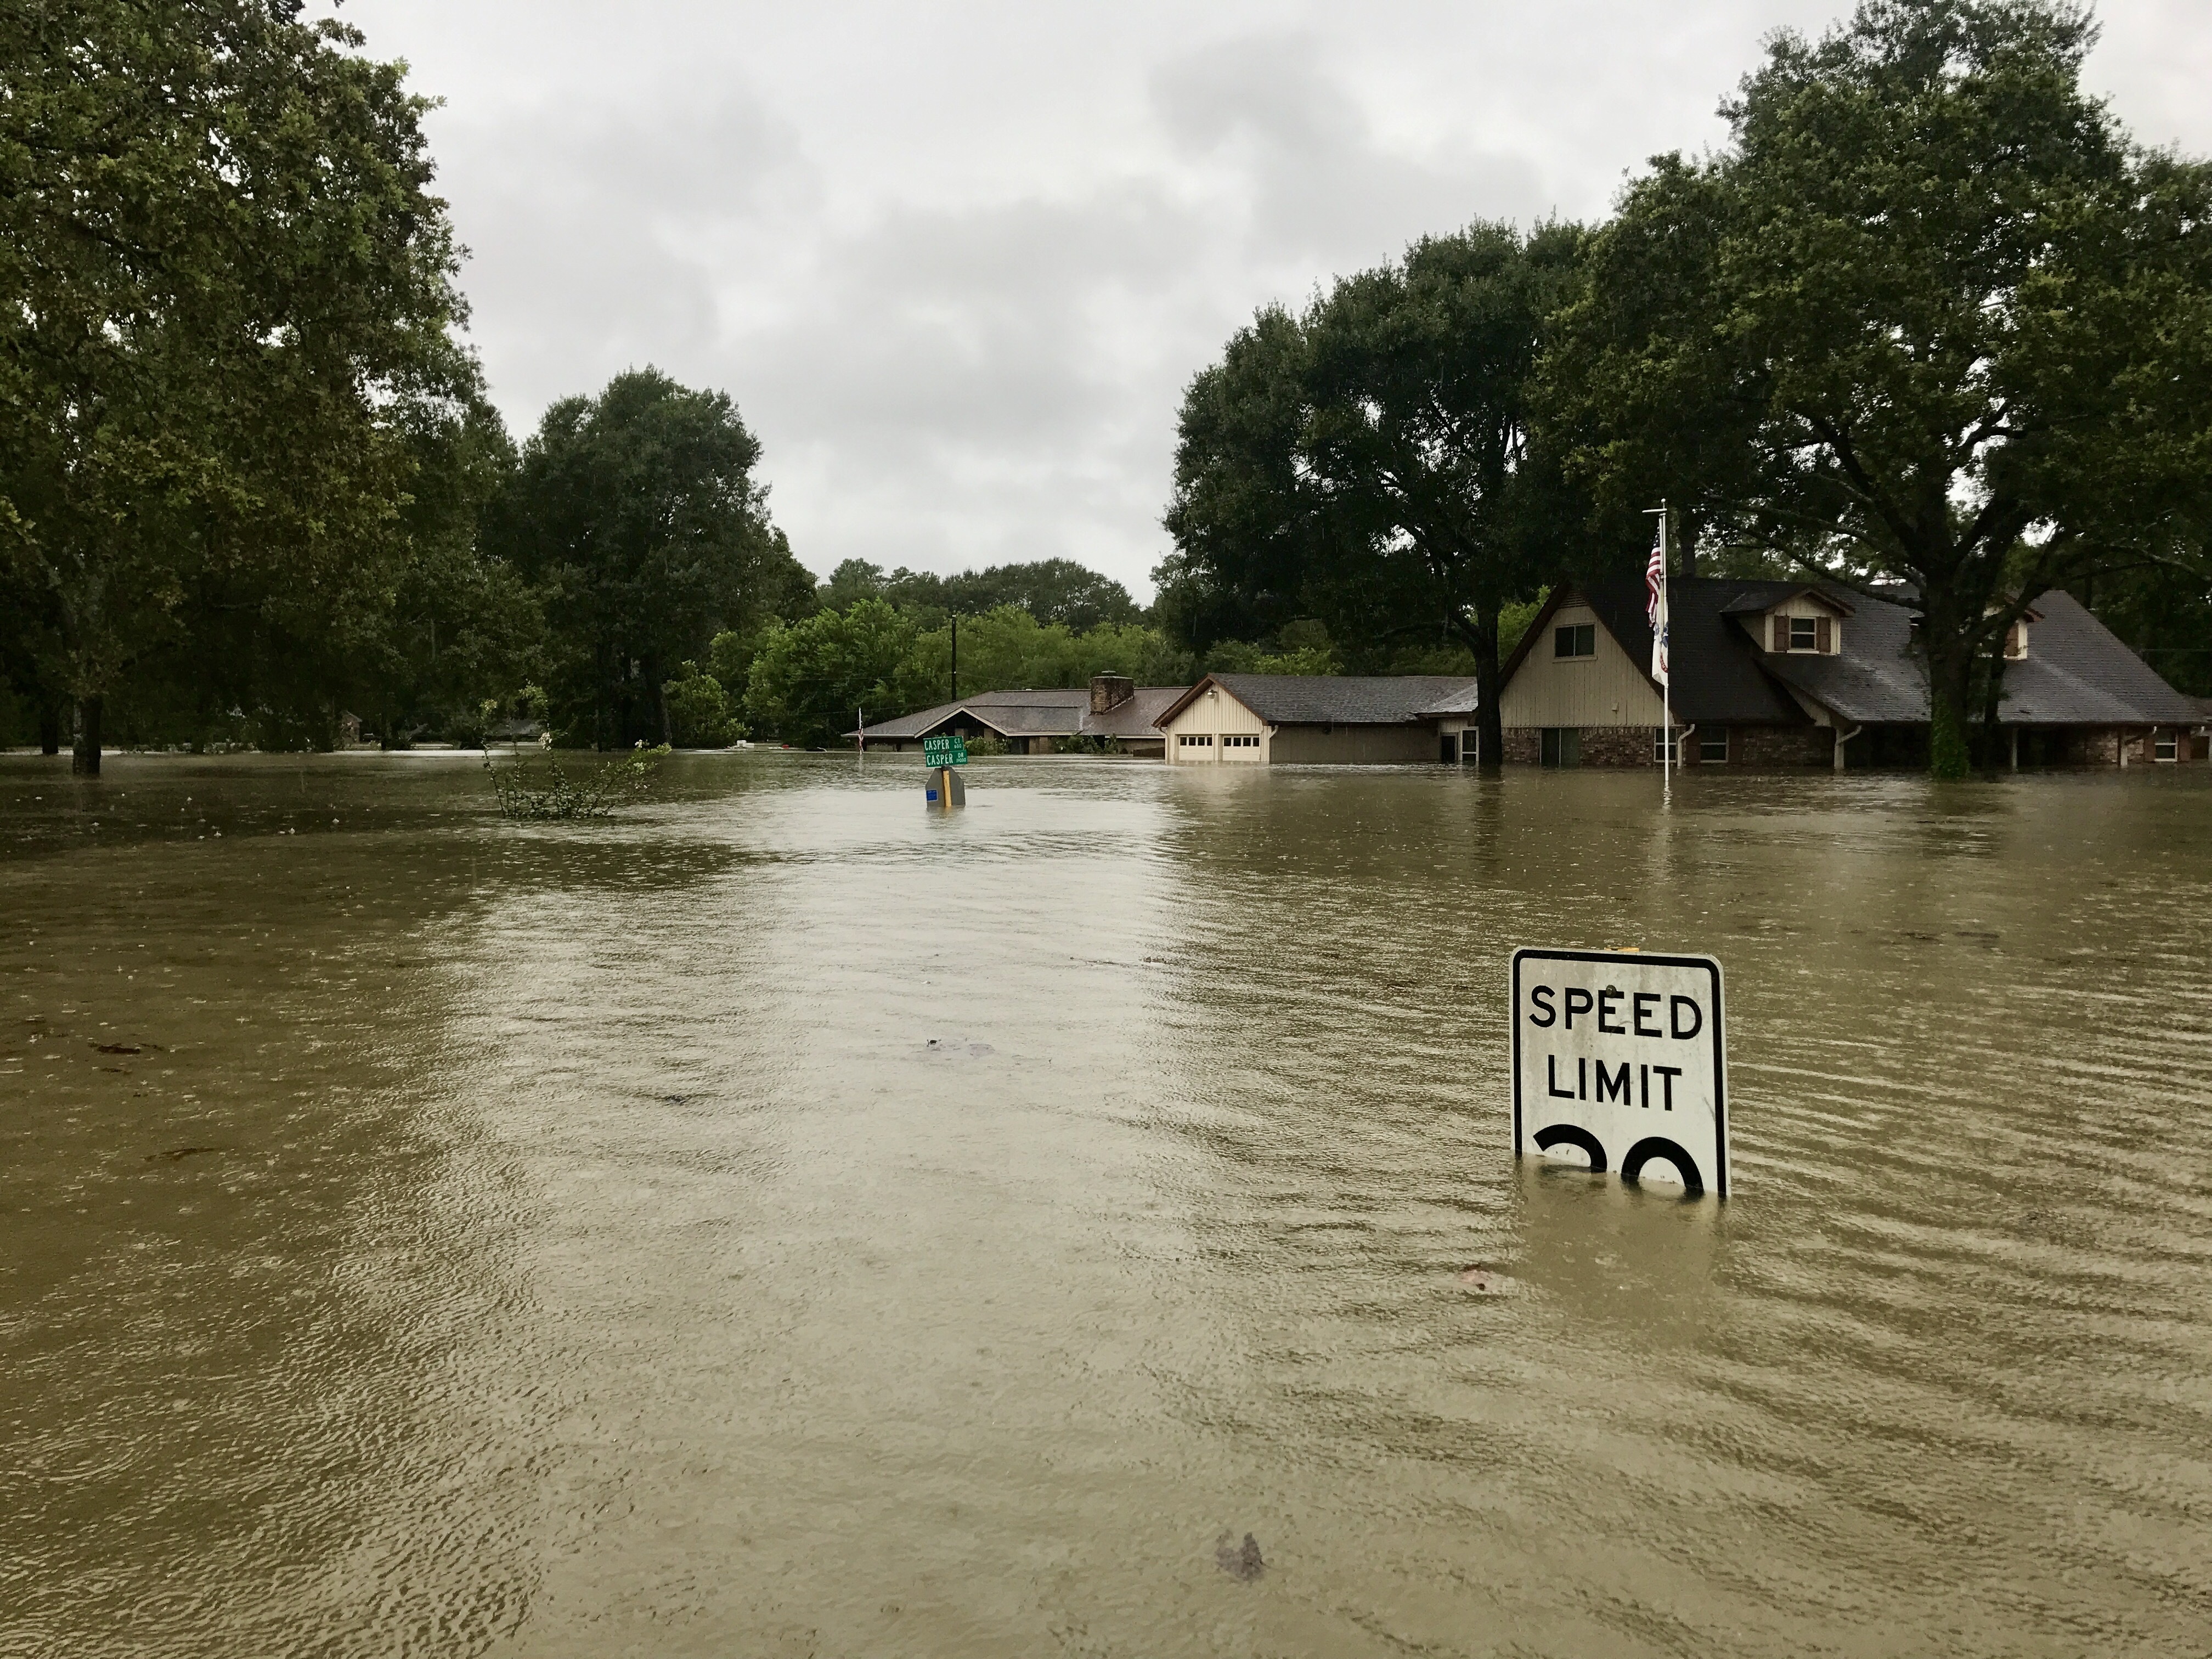
Water is patient. It finds every gap, every unsealed joint, every missed flashing detail, and it exploits them slowly and persistently until the damage becomes impossible to ignore. By the time a building owner sees staining on a ceiling, mold on a wall, or bubbling paint around a window, the water has often been traveling through the building envelope for months or years. And the point where it’s showing up inside is rarely the point where it’s getting in. Tracing water from the visible damage back to the source is the core challenge of a forensic building envelope investigation, and it’s more complex than most people expect.
Why Water Intrusion Investigations Are Difficult
Water inside a building envelope doesn’t follow intuitive paths. It enters at one point, travels laterally along framing members, flashing surfaces, or membrane layers, and emerges at a different location, sometimes on a different floor than where it entered. A stain on a second-floor interior wall might originate from a failed roof-to-wall flashing two stories up, with the water migrating down through the wall cavity behind finishes that show no visible damage.
This is why simply patching the visible damage doesn’t solve the problem. Without identifying the actual point of entry and the failure mechanism that allowed the water in, repairs are temporary at best. The building owner keeps patching, the water keeps coming, and the concealed damage keeps growing.
Forensic engineers approach water intrusion the way they approach any failure analysis: by working backward from the observed damage through the building systems to identify the root cause. The investigation methodology is systematic, and it combines non-destructive diagnostics with targeted destructive testing to build a complete picture of what failed and why.
The Diagnostic Toolkit
A forensic building envelope investigation typically begins with non-destructive assessment. Moisture meters (both pin-type and non-invasive scanning types) allow the engineer to map moisture levels within wall and ceiling assemblies without opening them up. Elevated moisture readings indicate where water is present or has been present, even when the surface looks dry.
Infrared thermal imaging is another non-destructive tool that reveals temperature differences in building surfaces caused by evaporative cooling from moisture. A thermal scan of an exterior wall can show wet areas within the wall cavity as cooler zones against the otherwise uniform surface temperature. This helps the engineer narrow down where water is accumulating before committing to destructive testing.
When the non-destructive tools have identified areas of concern, the investigation moves to controlled water testing. Spray rack testing (also called ASTM E1105 testing) applies water to specific sections of the building exterior in a controlled sequence to replicate rain exposure and identify exactly where water penetrates the envelope. The engineer starts at the lowest potential entry point and works upward, isolating each component: window sills, then window jambs, then window heads, then the wall field above. When water appears on the interior, the engineer knows which component failed.
Finally, exploratory openings (removing sections of exterior cladding, interior finishes, or both) allow the engineer to visually inspect the concealed components of the building envelope. This is where the investigation reveals the actual failure mechanism: a missing kickout flashing, a reversed lap in the weather-resistive barrier, an improperly integrated window flashing, or sealant that was applied over a dirty surface and never adhered.
Common Failure Points in Southern California Construction
Water intrusion is the most common construction defect in California, and Southern California’s building stock has some characteristic vulnerabilities that forensic engineers encounter frequently.
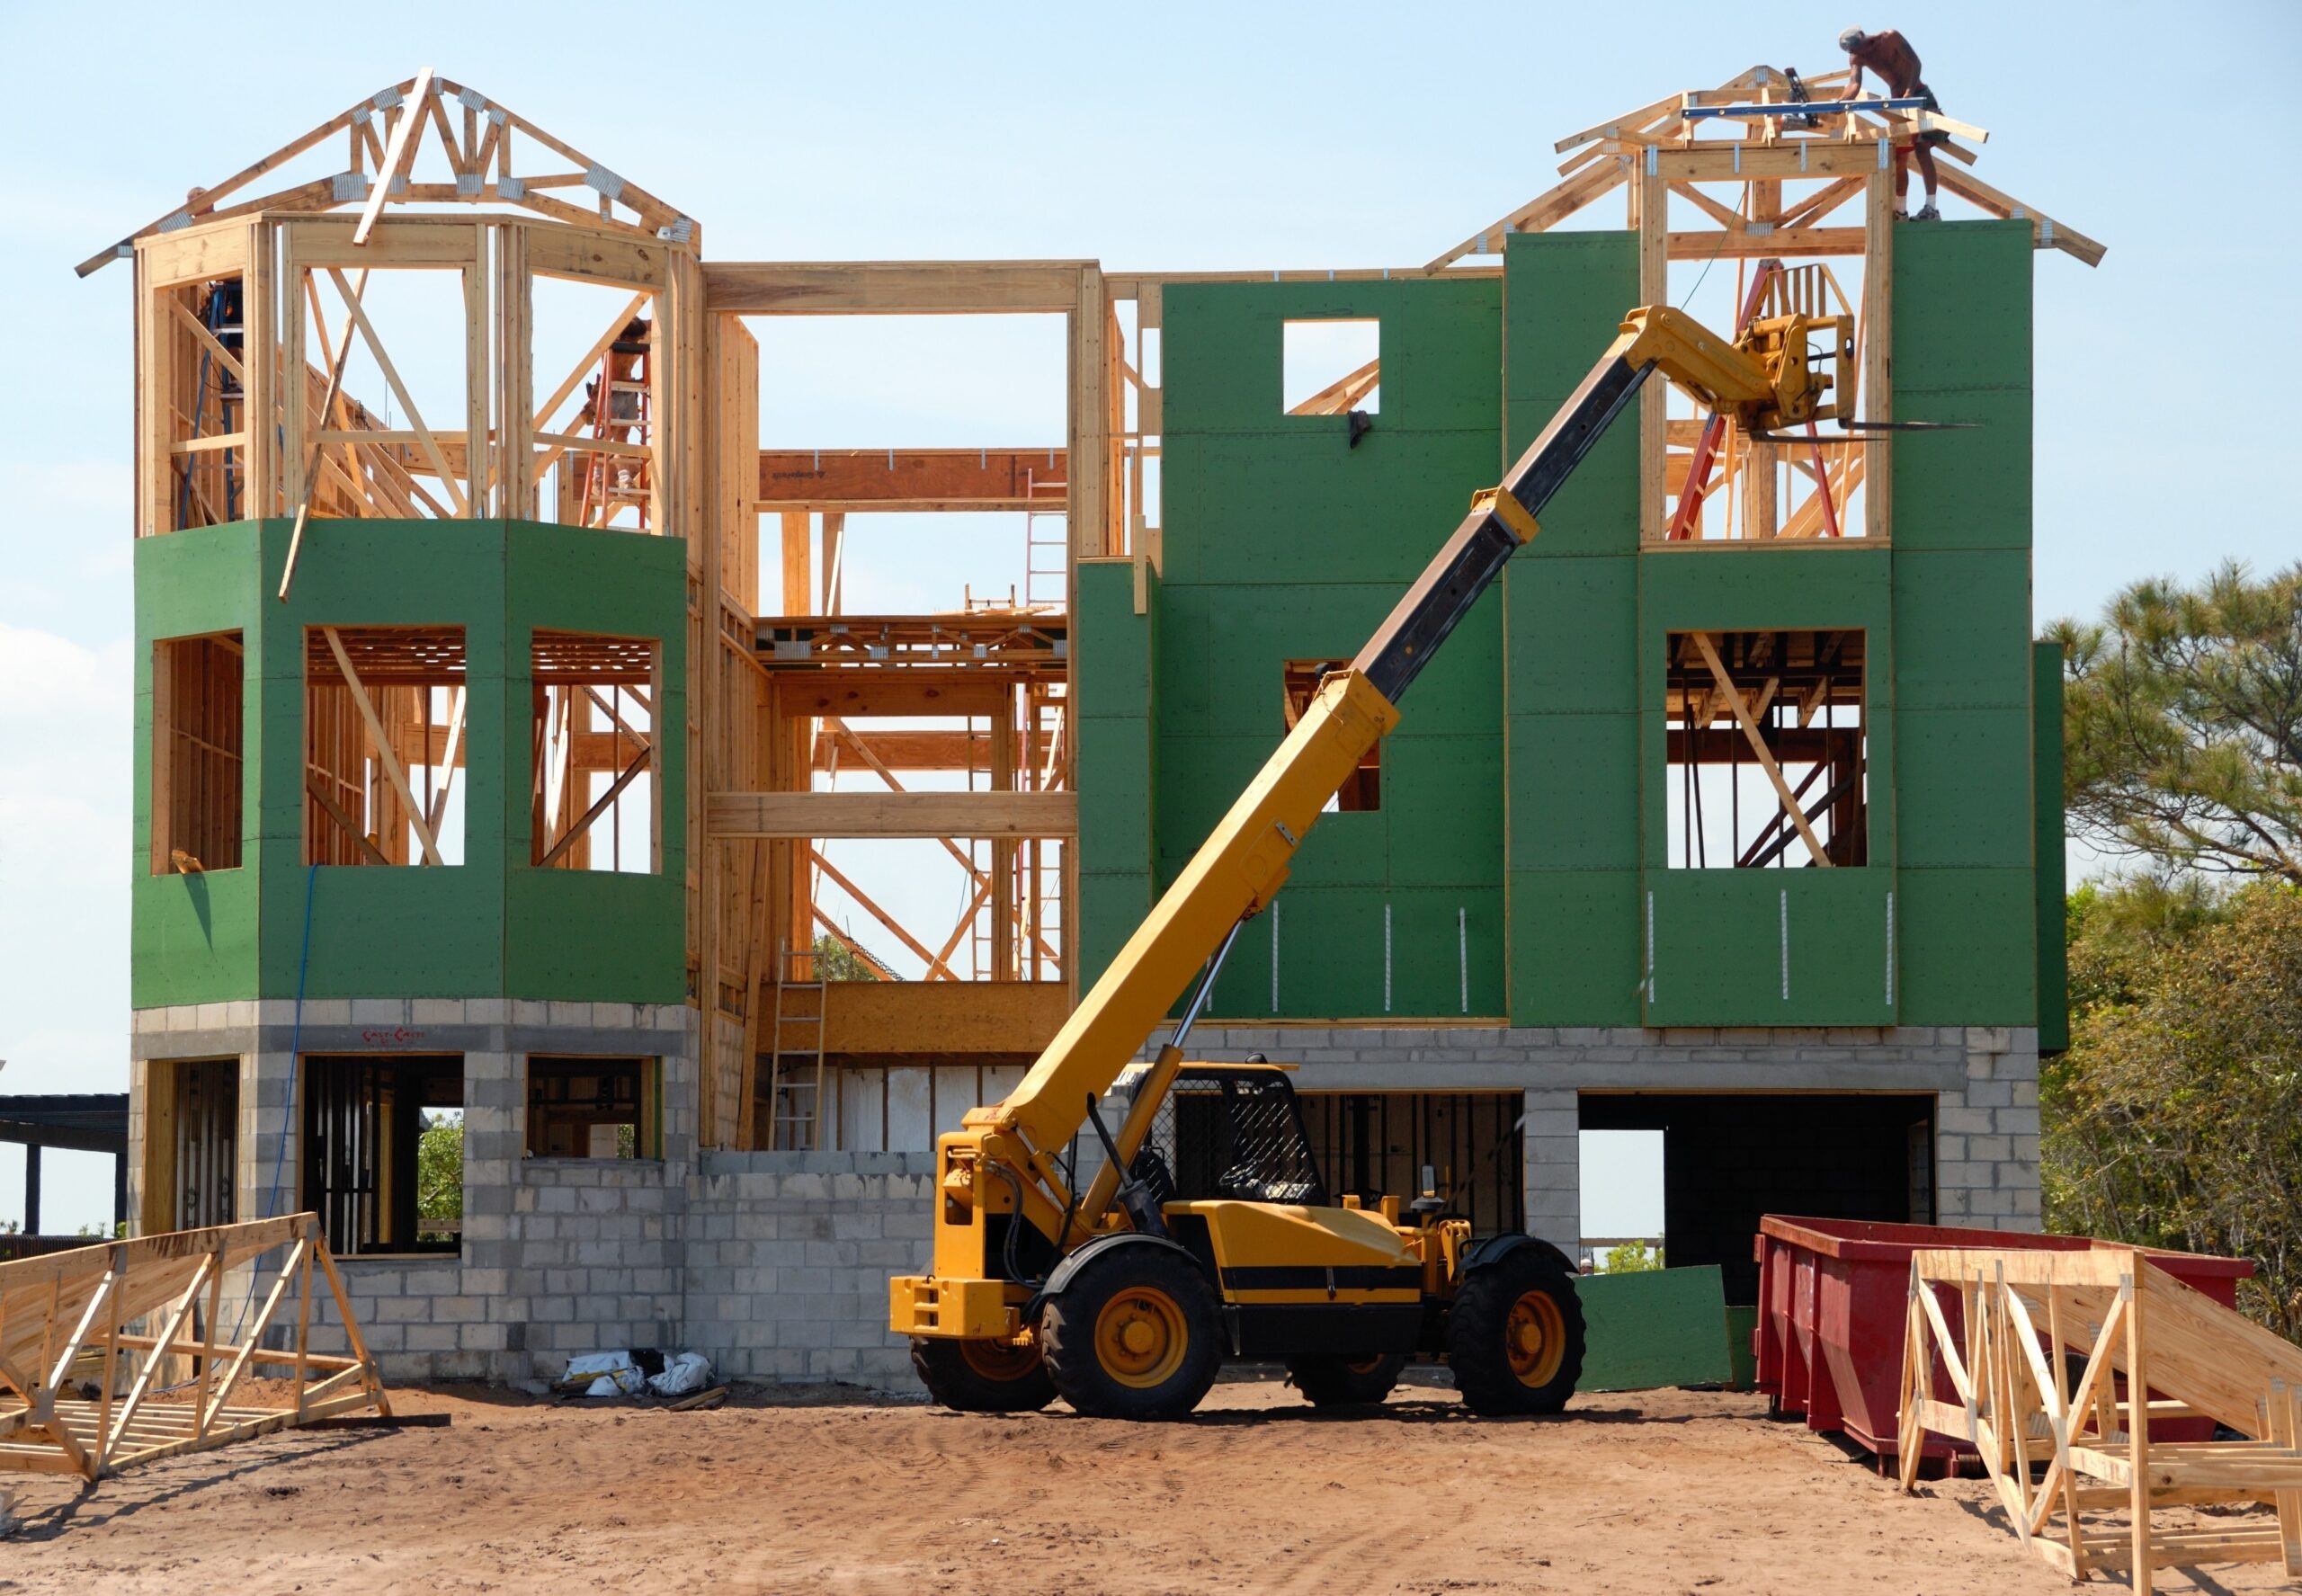
Stucco-clad buildings present particular challenges because stucco is not inherently waterproof. It’s designed to shed most water, but the weather-resistive barrier behind the stucco is the actual waterproofing layer. When the WRB is improperly installed, punctured during construction, or not properly integrated with window and door flashings, water passes through the stucco and enters the wall cavity. The damage can be extensive before any exterior sign appears, because the stucco itself looks fine.
Window and door installations are another frequent failure point. Proper window flashing requires a specific sequence of materials (sill pan, jamb flashings, head flashing) integrated with the weather-resistive barrier in a shingle-lap pattern that directs water outward at every transition. When this sequence is incorrect, or when components are omitted, water enters at the window perimeter and migrates into the surrounding wall assembly. A thorough understanding of common building envelope failure modes and how specific components are designed to manage water helps both property owners and their legal counsel evaluate the significance of an engineer’s findings.
Roof-to-wall intersections, where a sloped roof meets a vertical wall surface, are among the most failure-prone details in residential and low-rise commercial construction. These transitions require step flashing, counterflashing, and kickout flashings that are properly integrated with both the roofing system and the wall’s weather-resistive barrier. Missing or improperly installed kickout flashings are one of the most common causes of concealed water damage in Southern California buildings.
Below-grade waterproofing failures also contribute to water intrusion, particularly in buildings with occupied spaces below grade or at grade on sloped lots. Failed waterproofing membranes, inadequate drainage systems, and improper grading can cause water to enter through foundation walls and slab-on-grade conditions.
The Investigation Report
The deliverable from a forensic building envelope investigation is a detailed report that documents the observed damage, the diagnostic testing performed, the exploratory openings and their findings, and the engineer’s conclusions about what failed and why. The report includes photographs of every relevant condition, diagrams showing water paths and failure locations, and references to the applicable building codes and industry standards that the construction failed to meet.
For litigation purposes, the report must establish causation: not just that there’s a defect, but that the specific defect caused the specific damage. This requires the engineer to connect each point of water entry to the resulting interior damage, account for alternative explanations, and demonstrate that the construction deviated from the standard of care.
For insurance claims, the report documents whether the water intrusion resulted from a sudden event (such as wind-driven rain exploiting a storm-damaged component) or from a long-term construction defect, which may be covered under different policy provisions or excluded entirely.
If you’re dealing with recurring water intrusion in a building and previous repairs haven’t solved the problem, a forensic building envelope investigation can identify the actual source: not just where the water is showing up, but where and why it’s getting in.